It won’t hurt to apply it.
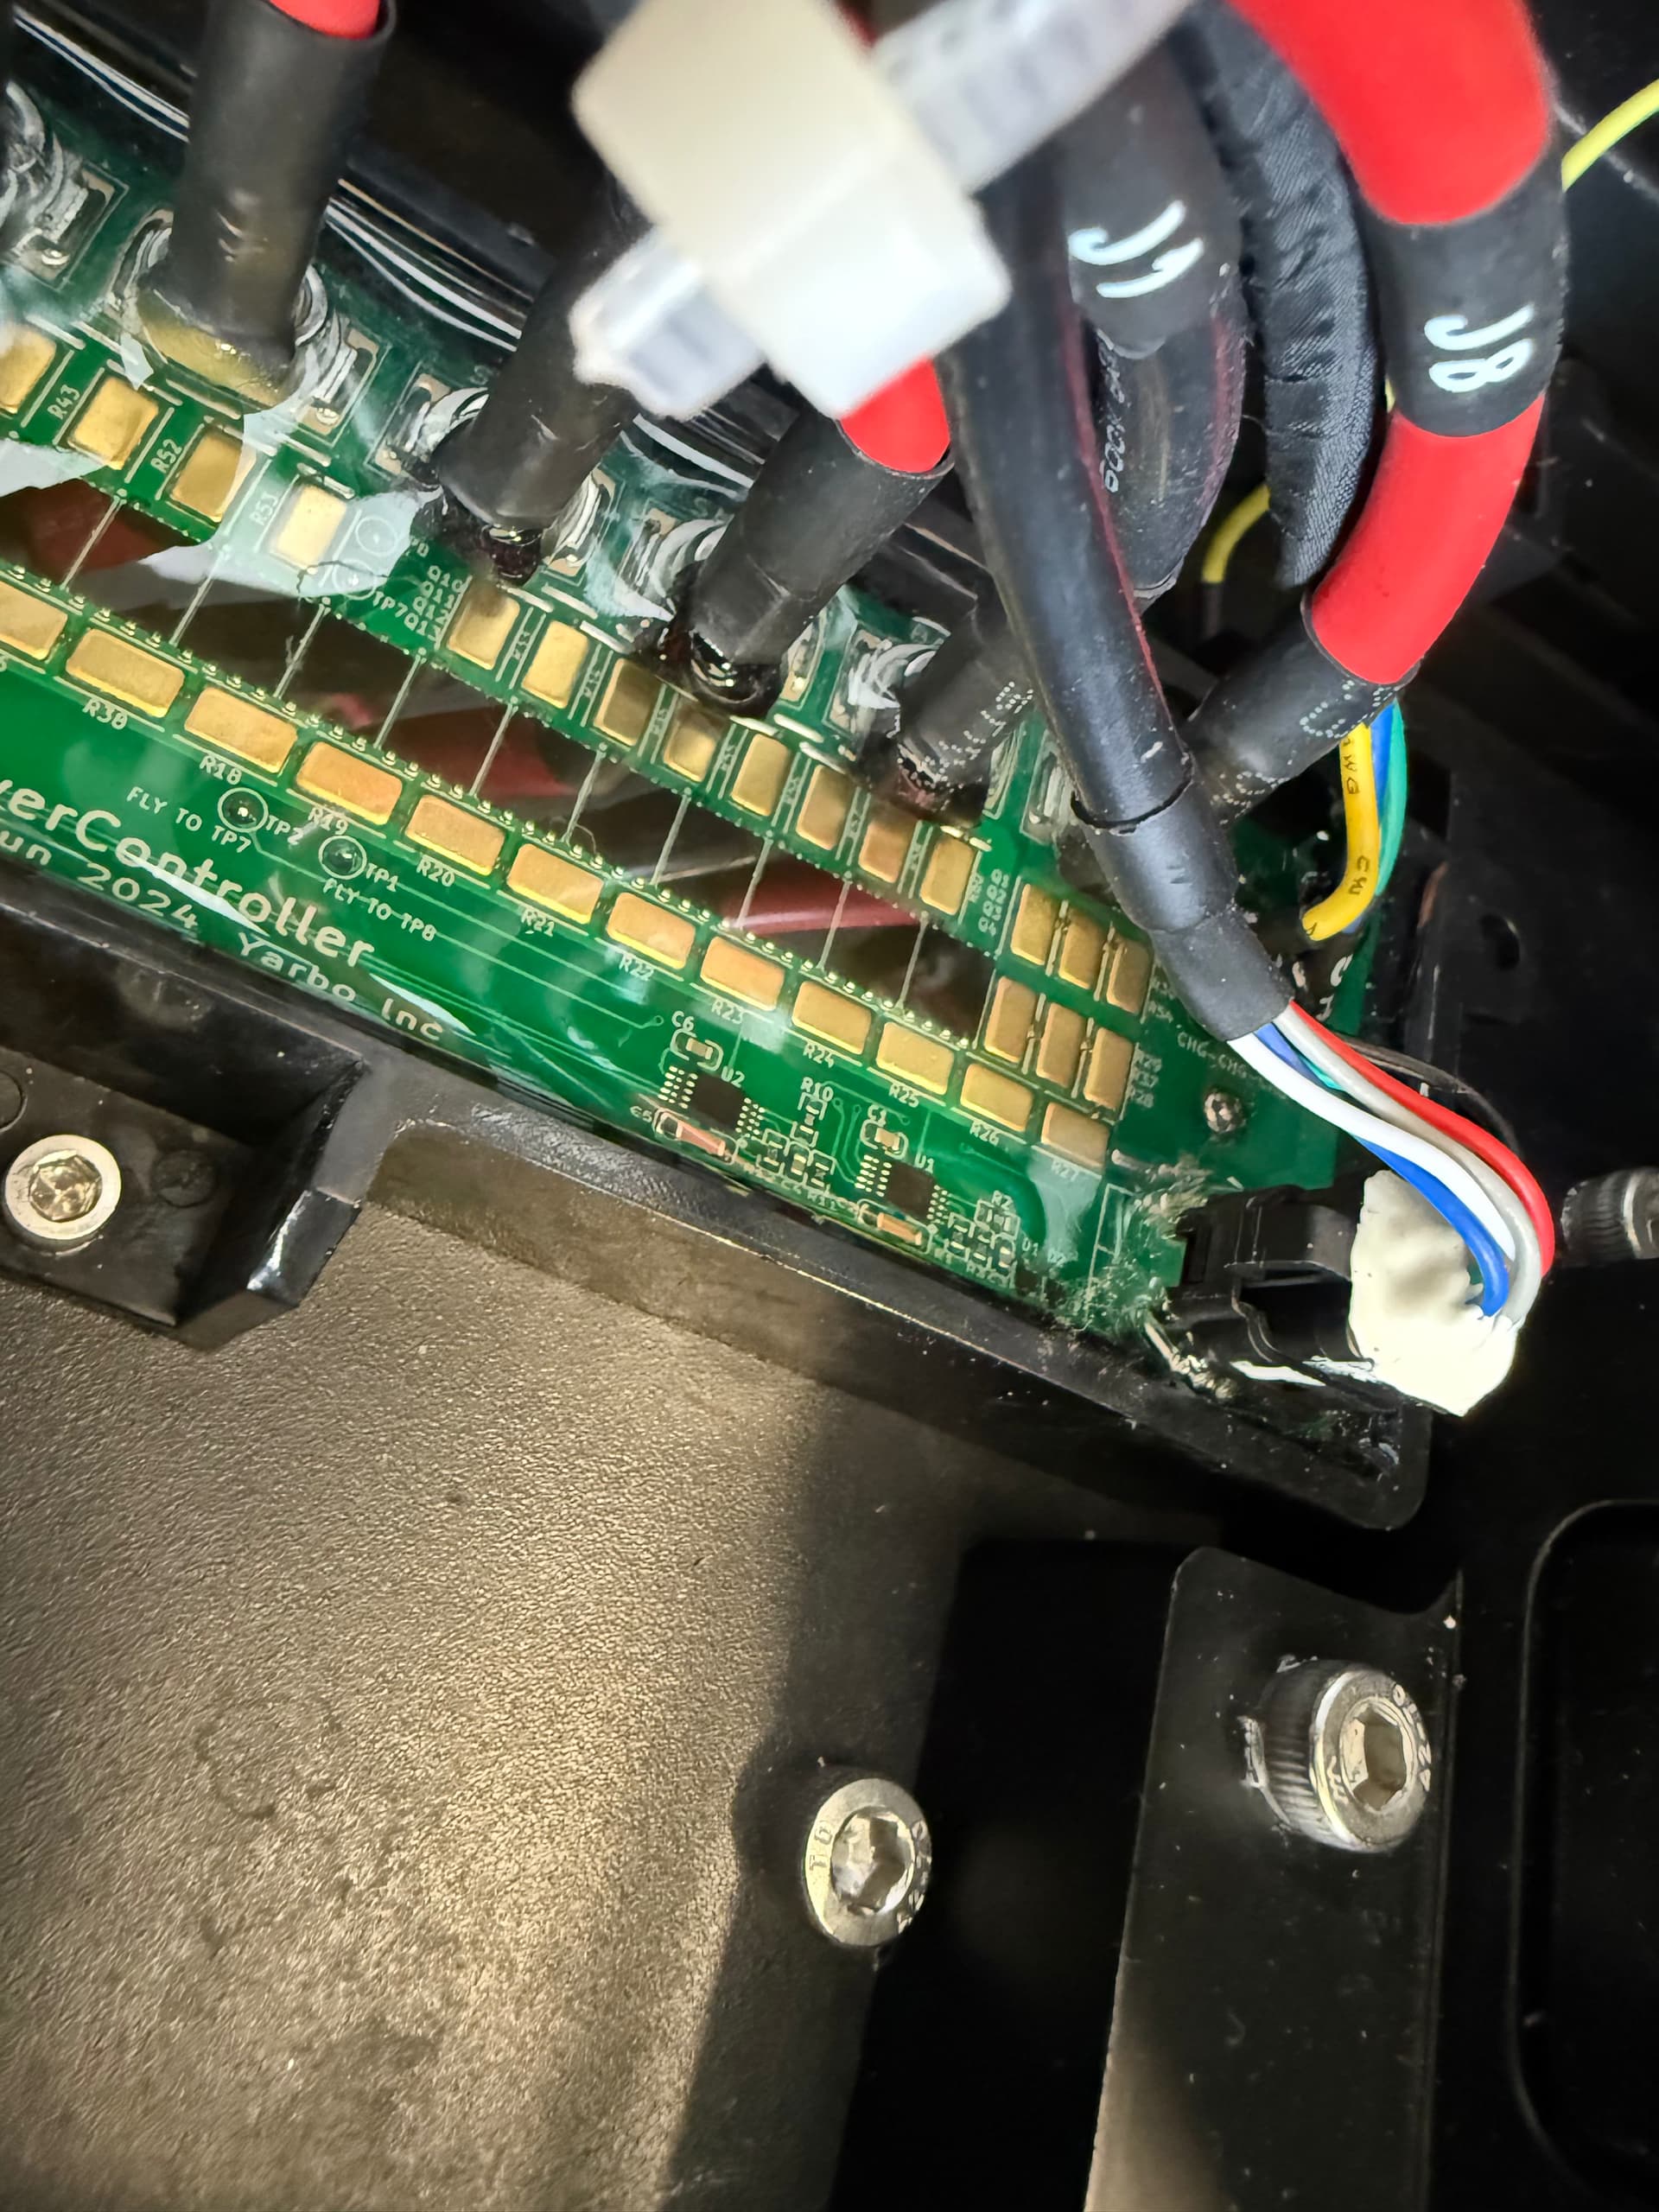
The issue is this lip, when the board is flat.
Snow will accumulate, melt, and then freeze and melt and freeze and melt and and and…
And with ice doing what ice does, it’ll make every micro-fissure into a crack, and make every crack into a canyon. Hilarity ensues once the cracks reach the board and the water shorts everything out.
If your board is mounted sideways, instead of face-up (as in this image), the risk is lower because the water won’t pool. But if the lip is still there, then water can eventually find (and expand) any gaps.
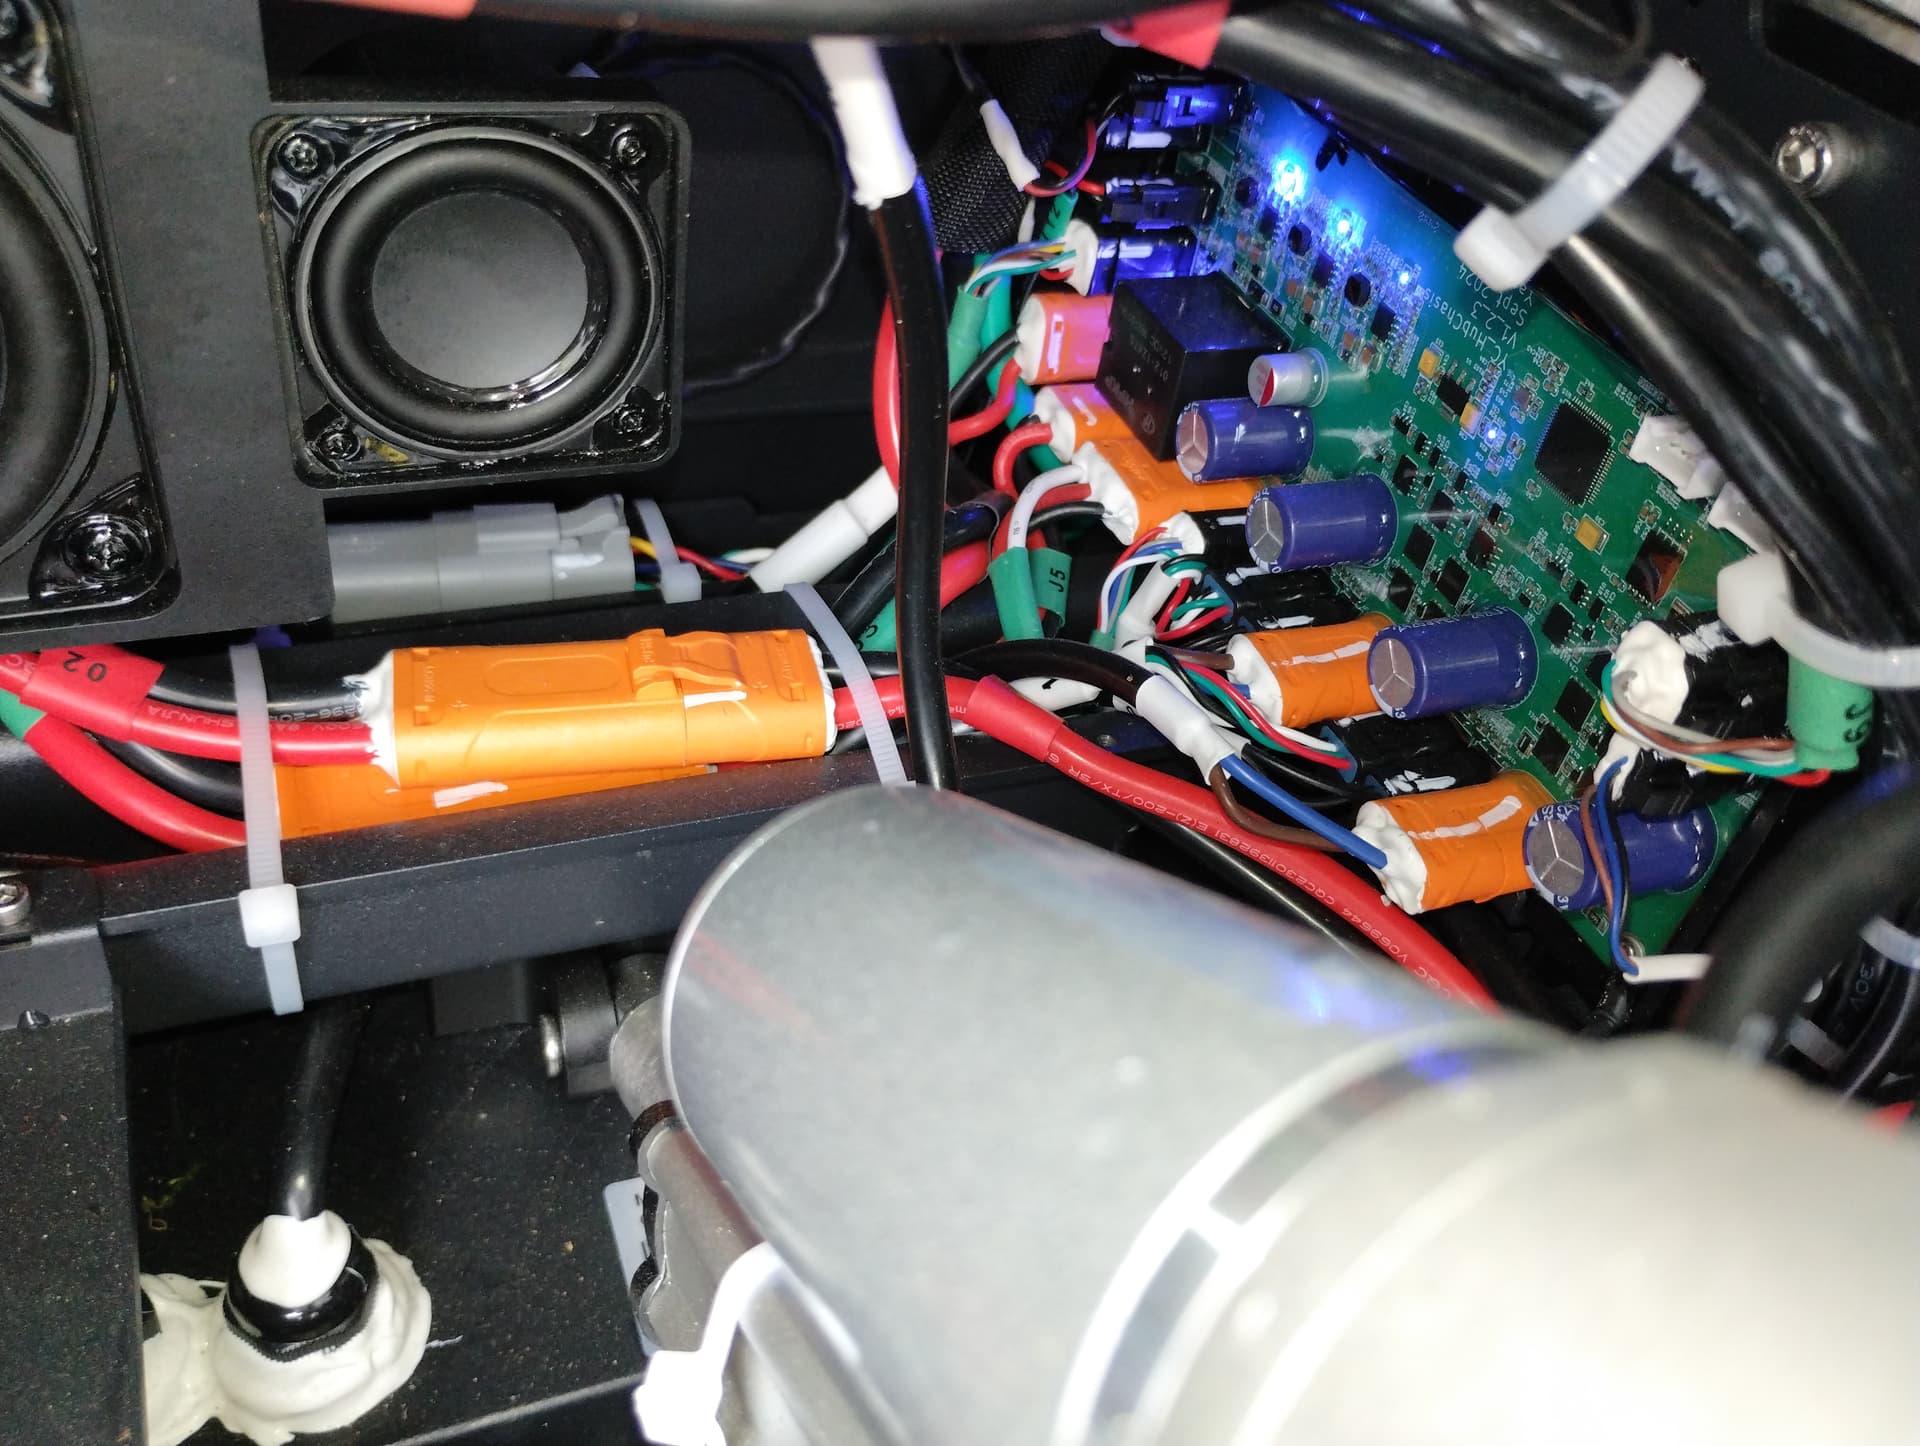
Pull the battery, make certain everything is dry. You can remove the core’s cover, pull the three connectors off the core’s cover and move it completely out of your way, as well as remove the actuator. The power board comes off with 3 simple screws and becomes much easier to work on.
The board will need to be level while the goo cures. Expect that to take about two days. Remember to protect it from rain while curing.
Jay has a great video that’s a bit longer than it needs to be, but it details almost everything. He does not remove the core’s cover, but life is easier if you do. He also leaves the board screwed down to the chassis, which is fine, but life might easier if you remove it. Remember you can pop the three connectors off the core’s cover to slide the cover out of your way. Then the only thing holding the cover will be the HALO and GPS pigtails, which you’ll know how to replace as soon as you see them, if yours ever get trashed.
Time needed to do this is probably 20 minutes your first time, and 9 minutes your second time. That should tell you how much time is spent on being too precise with the goo. Biggest pain is cleaning the board, THAT wants to be done thoroughly. The goo will self-level after you apply it. Just have it where it needs to be, and it’ll go where gravity takes it. You’ll want to use enough goo to crest over that little lip.
No lip, no pool of water. Squishy goo, no ice turning fissures into canyons.